One of my first and favorite homemade preparations! Not only is it cost-effective, but it also helps reducing plastic packaging and is generally healthier than store-bought yogurt (no added sugars).
The little creatures inside—as I like to call them—are alive and kicking! Plus, it’s very easy to prepare. After some trial and error with different milks and probiotics, this is my “formula”.
Materials
- Thermic bag (no yogurt maker or electricity needed)
- Small wool blanket (to wrap the bag)
- Cotton tea towel (optional)
- Thermometer
- Timer
- Glass jars
- Spatula
- Pot with lid
Ingredients
- Fresh whole milk (pasteurized is fine, but not UHT)
- Probiotics:
- Either in powder form (available online or in pharmacies),
- Or a small pot of full-fat, plain yogurt (no added sugar).
The most commonly used strains are a combination of Lactobacillus bulgaricus and Lactobacillus acidophilus.
(Other formulations exist—you can experiment and test them; feel free to share your thoghts about it.)
Directions
- Heat the Milk
- Warm 1 liter of milk over medium heat.
- Just before it boils (you’ll learn the right moment with experience, or simply use the thermother), lower the heat and stir with a spatula for 10 minutes.
- Turn off the heat and cover the pot with its lid to prevent a skin from forming.
- Prepare the Starter
- In a small mug, mix 1 spoon of yogurt (or probiotic powder) with a little cold milk (straight from the fridge is fine).
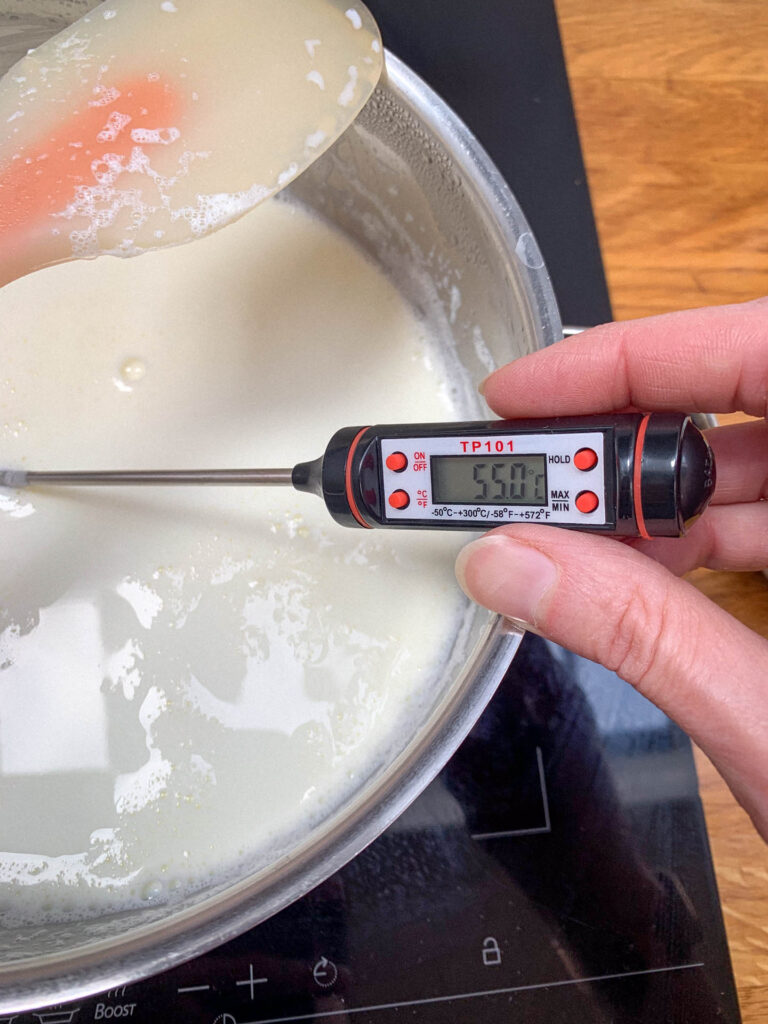
- Cool the Milk
- After about 1 hour (time depends on your kitchen temperature), check the milk with a thermometer.
- When it cools to between 60°C and 36°C (140°F–97°F), add the yogurt/probiotic mixture.
- My sweet spot is 40°C–44°C (104°F–111°F) up to 51°C (124°F).
- Ferment
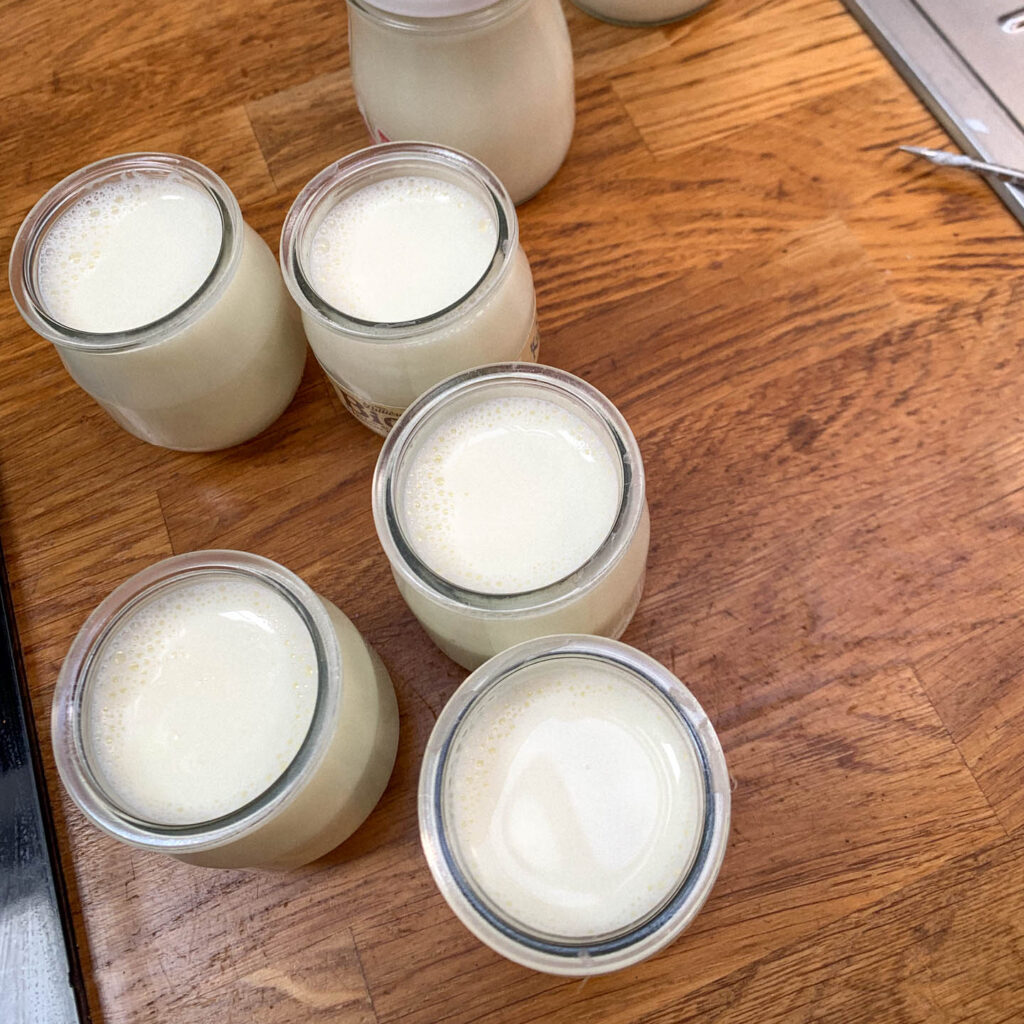
- Stir gently, then pour the milk into clean glass jars.
- Place the jars carefully closed in the thermic bag, optionally wrapped in a tea towel for more stable temperature.
- Close the bag, wrap it in the wool blanket, and store in a quiet place at a stable temperature. Do not move the bag during the fermentation process!
⏱️ Fermentation time:
- Some say 3–6 hours, but I prefer leaving it overnight (about 12 hours) for perfect texture.
- Store & Reuse
- Once ready, refrigerate your yogurt. It keeps for about 1 week.
- Always save a small amount from your batch to use as a starter for the next one, so you will not need to buy powder or ready made yogurt again.
It may take a few batches to find your perfect temperature and timing, but once you do, you’ll have fresh, delicious homemade yogurt whenever you like!
Generally speaking the ferments I buy in powder form last me a looooooooong time; the ones I prefer are the ones from Les Copains Gourmands.
For another homemade preparation, have a look on How to make deliciously healthy nut spread from scratch
